Solway Junction

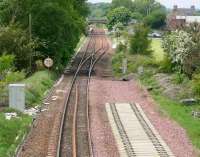
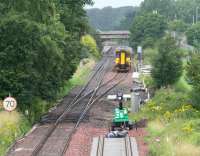
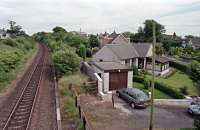
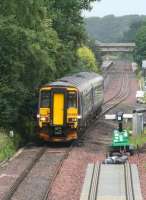
The bridge, seen here, which formerly carried the Solway Junction Railway over the G&SWR later bore the effluent pipeline from Chapelcross. Shawhill station was not far to the north (left) and a west to south curve connected the G&SWR with the SJR. The G&SWR line has since been re-doubled. View looks east.
Location: Solway Junction (former)
Original line: Solway Junction Railway
Photographer: Ewan Crawford
Contact photographer: Ewan Crawford
Date: 1998
Image number: 53016
Other photographs of Solway Junction on RailScot
 |  |  |  |  |  |  |  |  |  |
