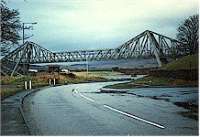
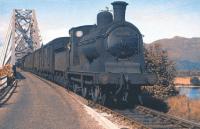
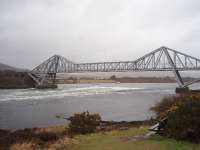
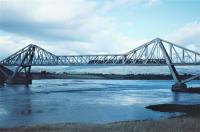
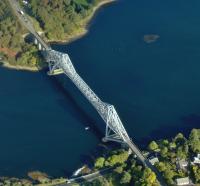
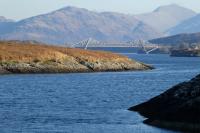
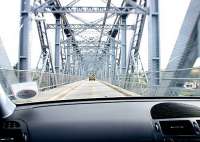
Connel Ferry Bridge

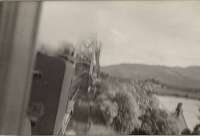
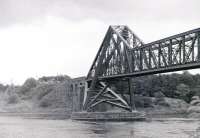
Looking towards the Connel Bridge with the former approach to Connel Ferry station behind the camera. This would have been the northern junction of a triangular layout at Connel had the west to north curve been installed see image 29609 (this was railway No 2. in the Act of which only a road overbridge and some earthworks were built).
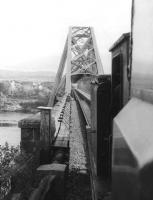
What is below is in doubt - loading of the charabanc was carried out at the east facing bay platform at Connel Ferry station.
Of particular interest in this shot is the old loading ramp. This ramp was used to load cars onto a rail mounted charabanc's trailer for a short haul over the viaduct. The charabanc operated a fairly intensive service - ten round trips a day from Connel Ferry to North Connel with four of these running on to Benderloch. This ran between 1909 and 1914. Beyond the ramp is the old hut from a later period following alterations to the bridge to allow cars to cross when not in use by trains. The charabanc is said to be the same one which provided a connecting service between Clarkston station and Eaglesham.
Location: Connel Ferry Bridge
Original line: Ballachulish Branch (Callander and Oban Railway)
Photographer: Ewan Crawford
Contact photographer: Ewan Crawford
Date: 1990
Image number: 32319
Other photographs of Connel Ferry Bridge on RailScot
 |  |  |  |  |  |  |  |  |  |
