12 Images released on Saturday 25/12/2021
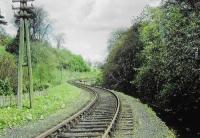
Balerno Goods Junction: A view showing the tight reverse curves just east of Balerno Goods Junction on the approach to waulk mill. The line was noteable for its tight curves as it followed the Water of Leith downhill to Slateford.
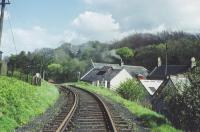
Newmills Mill: Waulkmill, east of Balerno, seen from the trackbed of the Balerno branch in the 1960s. The view looks east. This mill was also known as Newmills Mill.
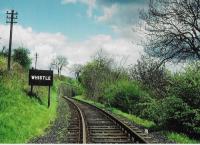
Balerno Goods Junction: East of Balerno, with Lanark Road just above.
Balerno Goods Junction: Balerno Goods Junction ground frame with Lanark Road just above to the left and the former Newmills Mill. The line met the Water of Leith here and followed the river downstream for just under five miles to Balerno Junction.
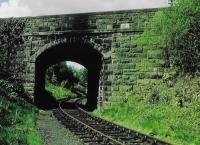
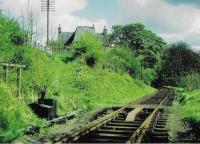
Balerno Goods Junction: This bridge carried Lanark Road over the railway west of Balerno Goods Junction. This section joined the main line a mile on. The former passenger station was just ahead in this view, round the curve.
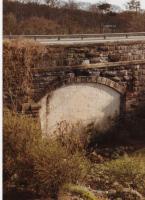
Balerno: A under bridge which carried Lanark Road over the Balerno branch railway in a 1985 view. Balerno passenger station was on this side. Balerno Goods Junction was off to the left.

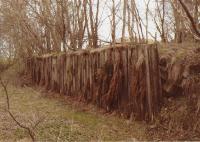
Balerno: The former stationmaster and porters house of Balerno station still stands, in private ownership, as a reminder of the former station. This is a 1985 view of the building from Lanark Road West. The station was in the cutting to the right, since infilled and redeveloped.
Dalmahoy Siding: Ravelrig scene: this the loading bank where the Ravelrig quarry tramway adjoined the Balerno Branch close to the western end of its loop. Seen in 1985 in a view looking east.
Dalmahoy Siding: This is the trackbed of one of the several Ravelrig quarry tramways which ran from Dalmahoy Siding as seen in 1985.
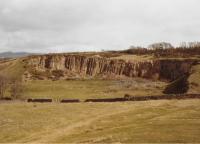
Ravelrig Quarry: Ravelrig Quarry, disused, seen in 1985. The quarry was served by a series of tramways which ran to Dalmahoy Siding on the Balerno branch.
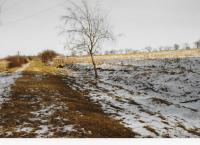
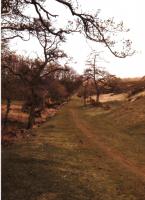
Ravelrig Junction: A wintry view taken during a walk along the closed trackbed between Ravelrig Junction and Balerno in 1985.
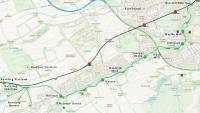
Map: A map of the Balerno Branch, really a loop, which opened in 1874 and closed to passengers in 1943, closing entirely in 1967. Following this map, and over four days, will be a series of photographs illustrating an eastbound journey along the line from Ravelrig to Slateford using a mixture of 1960s and 1980s photographs (and a postcard) provided by Don Shaw. The single track line wended its way by the Water of Leith, crossing over the river multiple times and passing snuff and paper mills. Trains ran out from Edinburgh Princes Street, taking to the branch at Balerno Junction, and took 25 minutes to reach Balerno. [Map backdrop: Ordnance Survey.]
